DIY Galentine’s Day Arrows
· Reichel
Hi, I’m Kendall! I’m a mom, teacher, decorator, DIY enthusiast, and lover of beautiful design. I recently launched my own design company, Kendall Wilson Design, in order to live what I love: creating charming yet sophisticated interiors and events. After planning and crafting for my own wedding nearly six years ago I knew I had to incorporate more creativity into my daily life, and now I’m finally doing just that.
Connecting with Reichel to plan a Galentine’s Day Brunch was such a fun opportunity. What’s better than a party with your gal pals who ogle over all of the pretty details? Just as every room needs a unique, statement piece, I believe every party needs some unexpected whimsy. Often crafting these elements yourself is the most satisfying way to accomplish this goal (and impress your guests!).
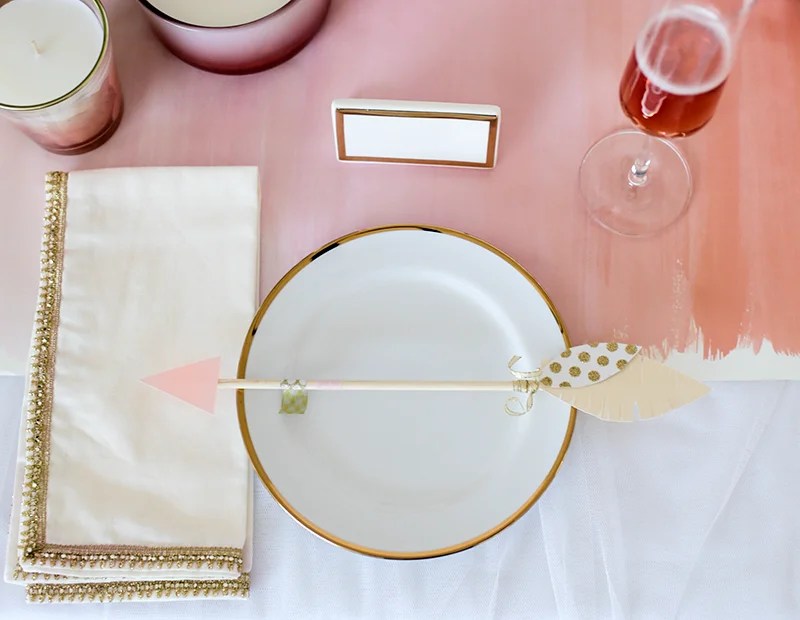
I love the arrow motif for Valentine’s Day because it’s less expected than the typical hearts you tend to see everywhere this time of year. I figured out a simple and cheap way to bring hand-crafted arrows to our Galentine’s Day table. Enjoy!
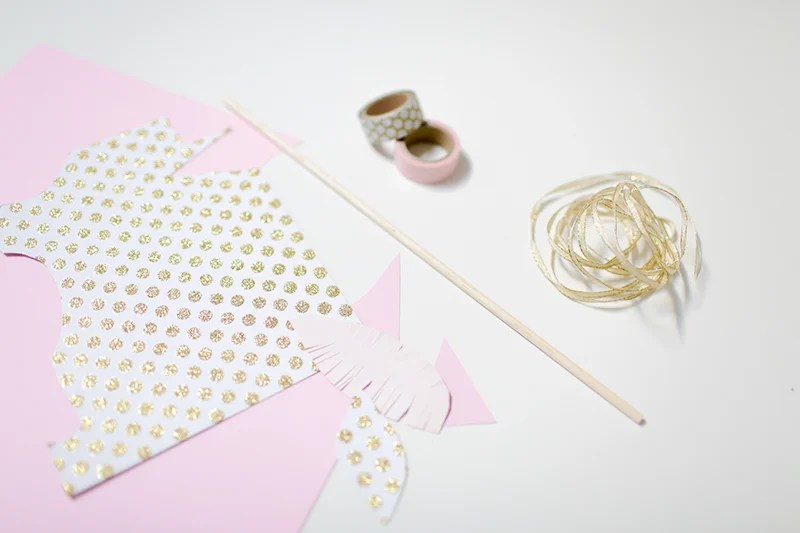
supplies
narrow wooden dowels (leftover wooden chopsticks could work, too)
1 | Decide on the color scheme for your arrows. For this Galentine’s brunch I used a variety of blush tones with gold accents. You don’t need huge amounts, so whatever paper scraps you happen to have lying around are great. You just want your paper to be thick enough to hold its shape and stand up to a hot glue gun. Free paint swatches at your local hardware store are a great place to gather thick paper in a variety of colors.
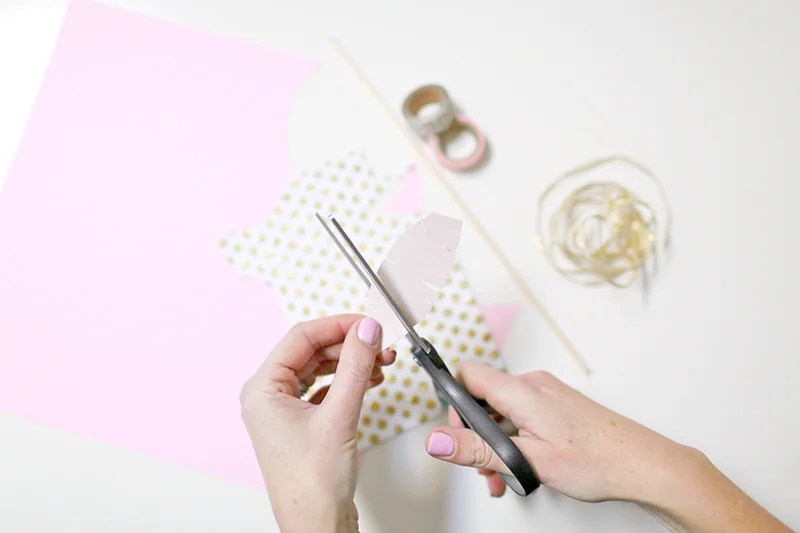
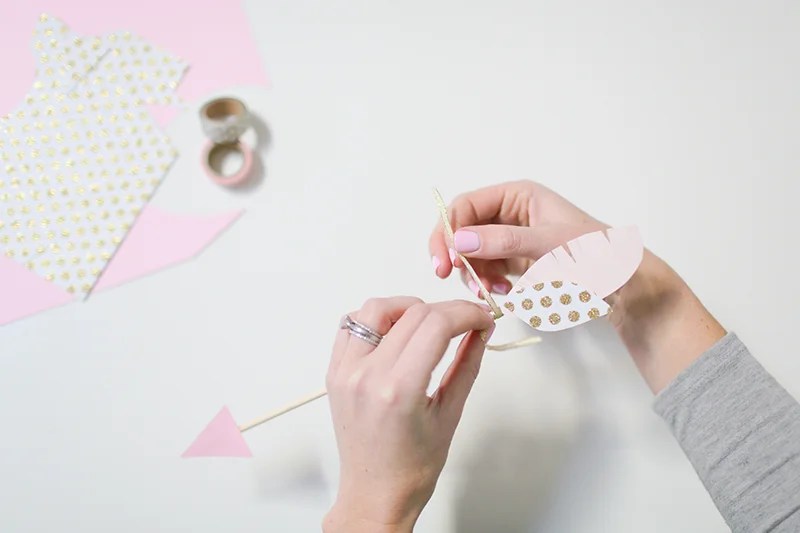
2 | Once you have your paper, cut out your arrowheads and feather tails. After you cut out your first set, you can use it as a stencil for the others. The arrowhead is a simple triangle, and the feathers are the shape of a slender leaf with fringe cut around the border. I like to cut the feathers free hand, so they are unique. For the fringe, don’t put too much thought into it, just dive in with your scissors! No need to be perfect.
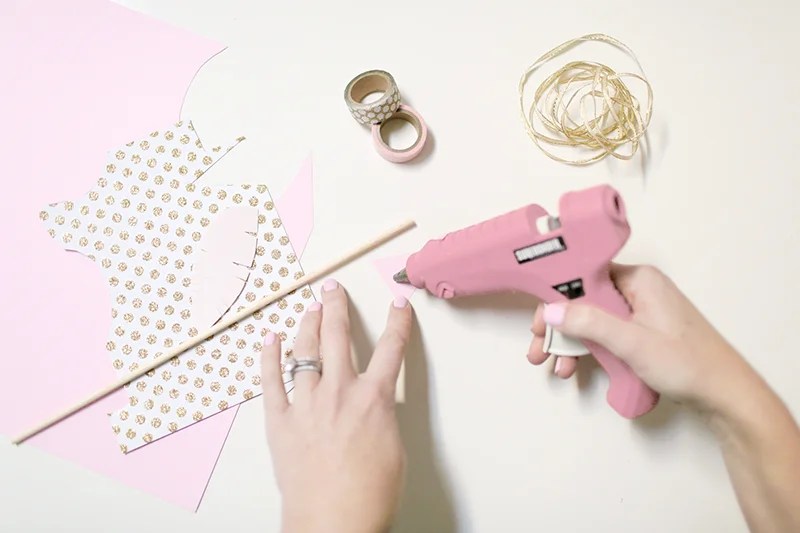
3 | Now it’s time to assemble your arrows. A few simple lines of hot glue are all it takes.
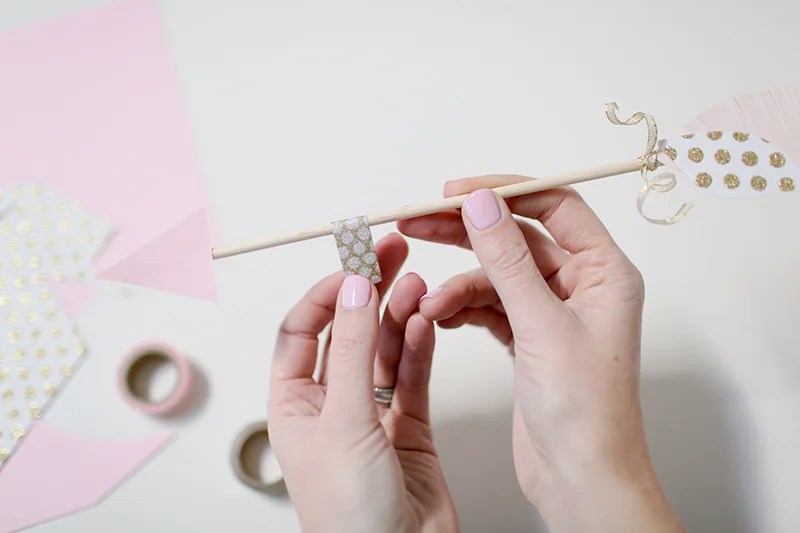
4 | To give extra flare to each arrow, it looks great to wrap parts of each wooden dowel with coordinating washi tape and/or ribbon. Here I wrapped the base of each arrow several times with narrow gold ribbon. I wrapped the ends of the wire ribbon around my finger a few times to give each arrow a little more character and dimension.
5 | And voila! You can now send love on Cupid’s arrow to each of your favorite gals. These could be used as place cards, food cards, or simply unique table top decor like we did here.

This post may contain affiliate links. Thanks for supporting Copy Cat Chic.
Discover more from CopyCatChic
Subscribe to get the latest posts sent to your email.